NOTE: The main Companion v3 BETA module may already have the latest module. The procedure below where you download the additional module from here may not be necessary unless the module version here is newer than the one contained in the Beta.
Ok, so here are some instructions, off the top of my head. Let me know if any of the steps are unclear or if something doesn’t quite work the way you expect or you can’t get it working at all… you know what I mean!!
First thing you should know is that v3 of companion allows the addition of modules SEPARATE from the companion app. YAY!!!
So, what that means is, companion v3 will have it’s normal built-in modules when you download it, but if you want to try a newer version of the module, you just have to add a folder on your computer and point v3 to it, no more downloading custom copies of companion like in v2. SO much easier and quicker for me to do builds, too. AND you can add my new module to Mac, Windows, Linux, RPI, whatever - it doesn’t need a special build of my module for each platform.
So, here’s the steps:
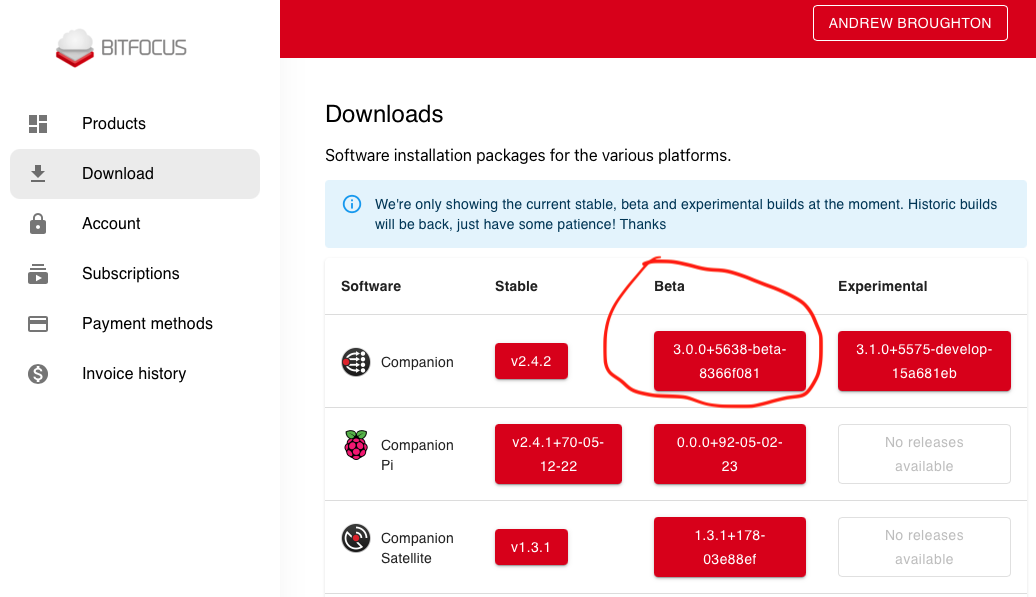
- Download and install the latest companion v3 from HERE.
Choose the 3.x.x-beta version, not the developer version. Install it and make sure it works.
-
Next, grab the .zip folder from HERE and put it somewhere that you can find it.
Double-click it and it should create a folder calledYamaha-RCP-3.x.xorYamaha-CLQL-3.x.xorcompanion-generic-midi-xxx(where x.x is a version #). Remember the path to the folder ABOVE the this folder. This is important! -
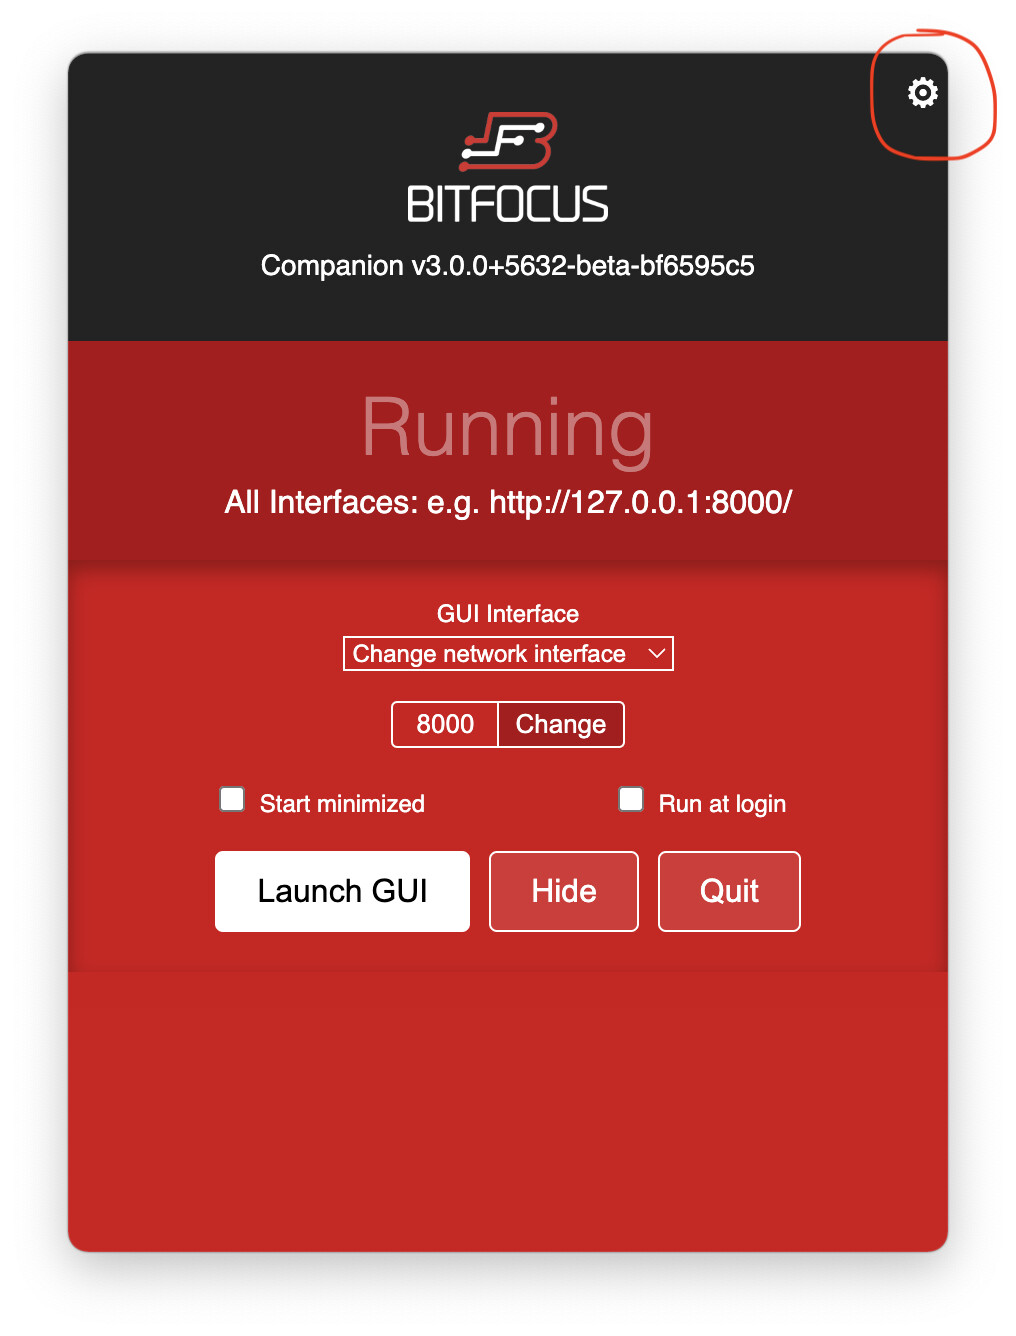
Now, run Companion v3 again, and click the little gear icon at the top right.
-
(Your version of companion might be newer than the one shown here)
-
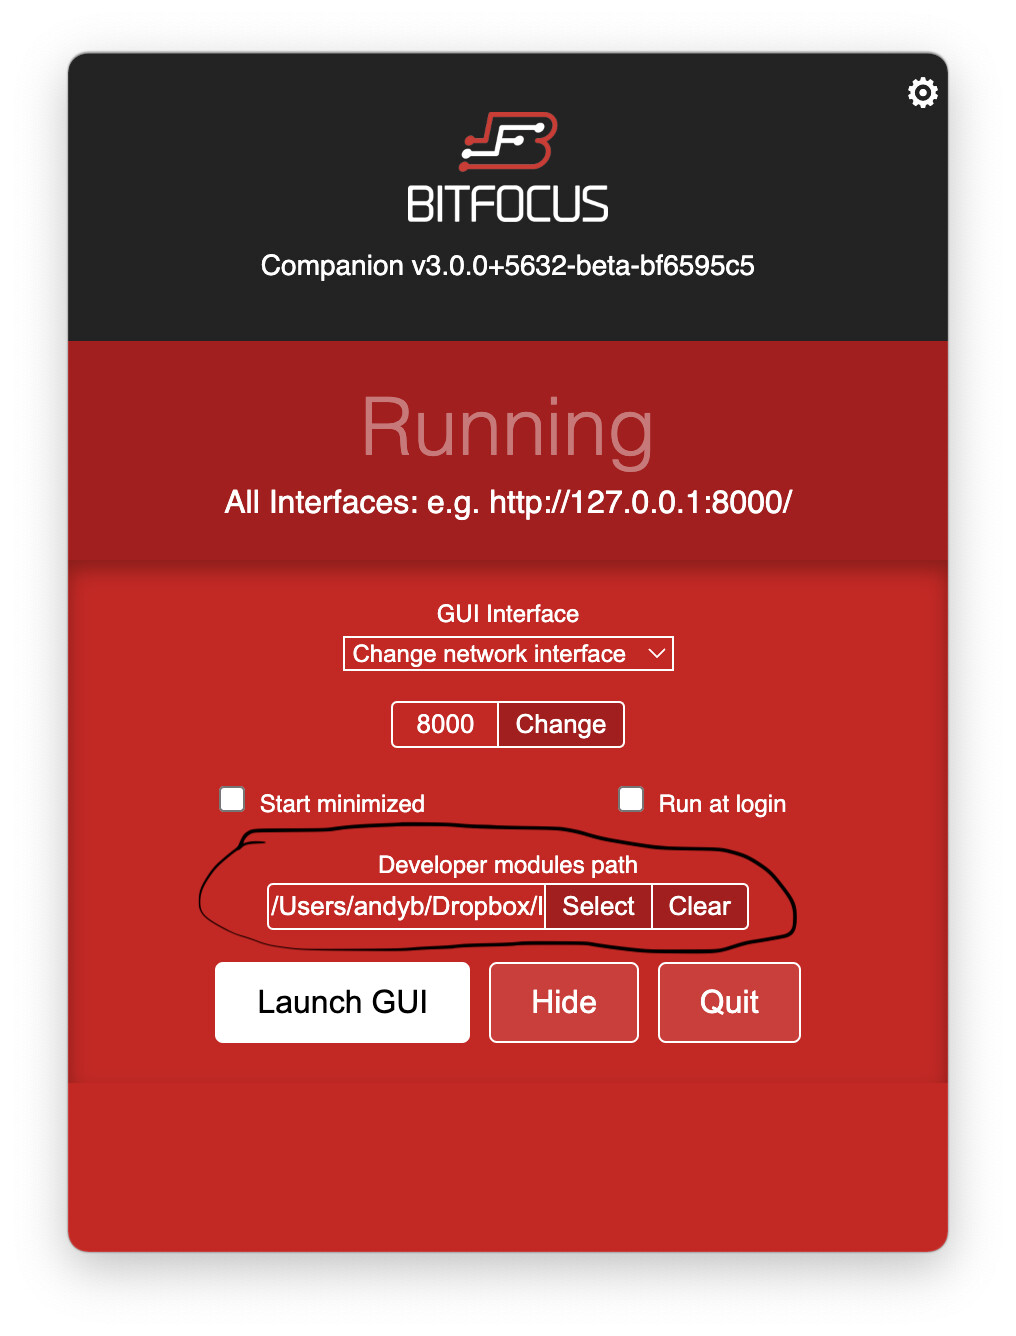
When you do, you should see a new line called
Developer modules path
-
Click
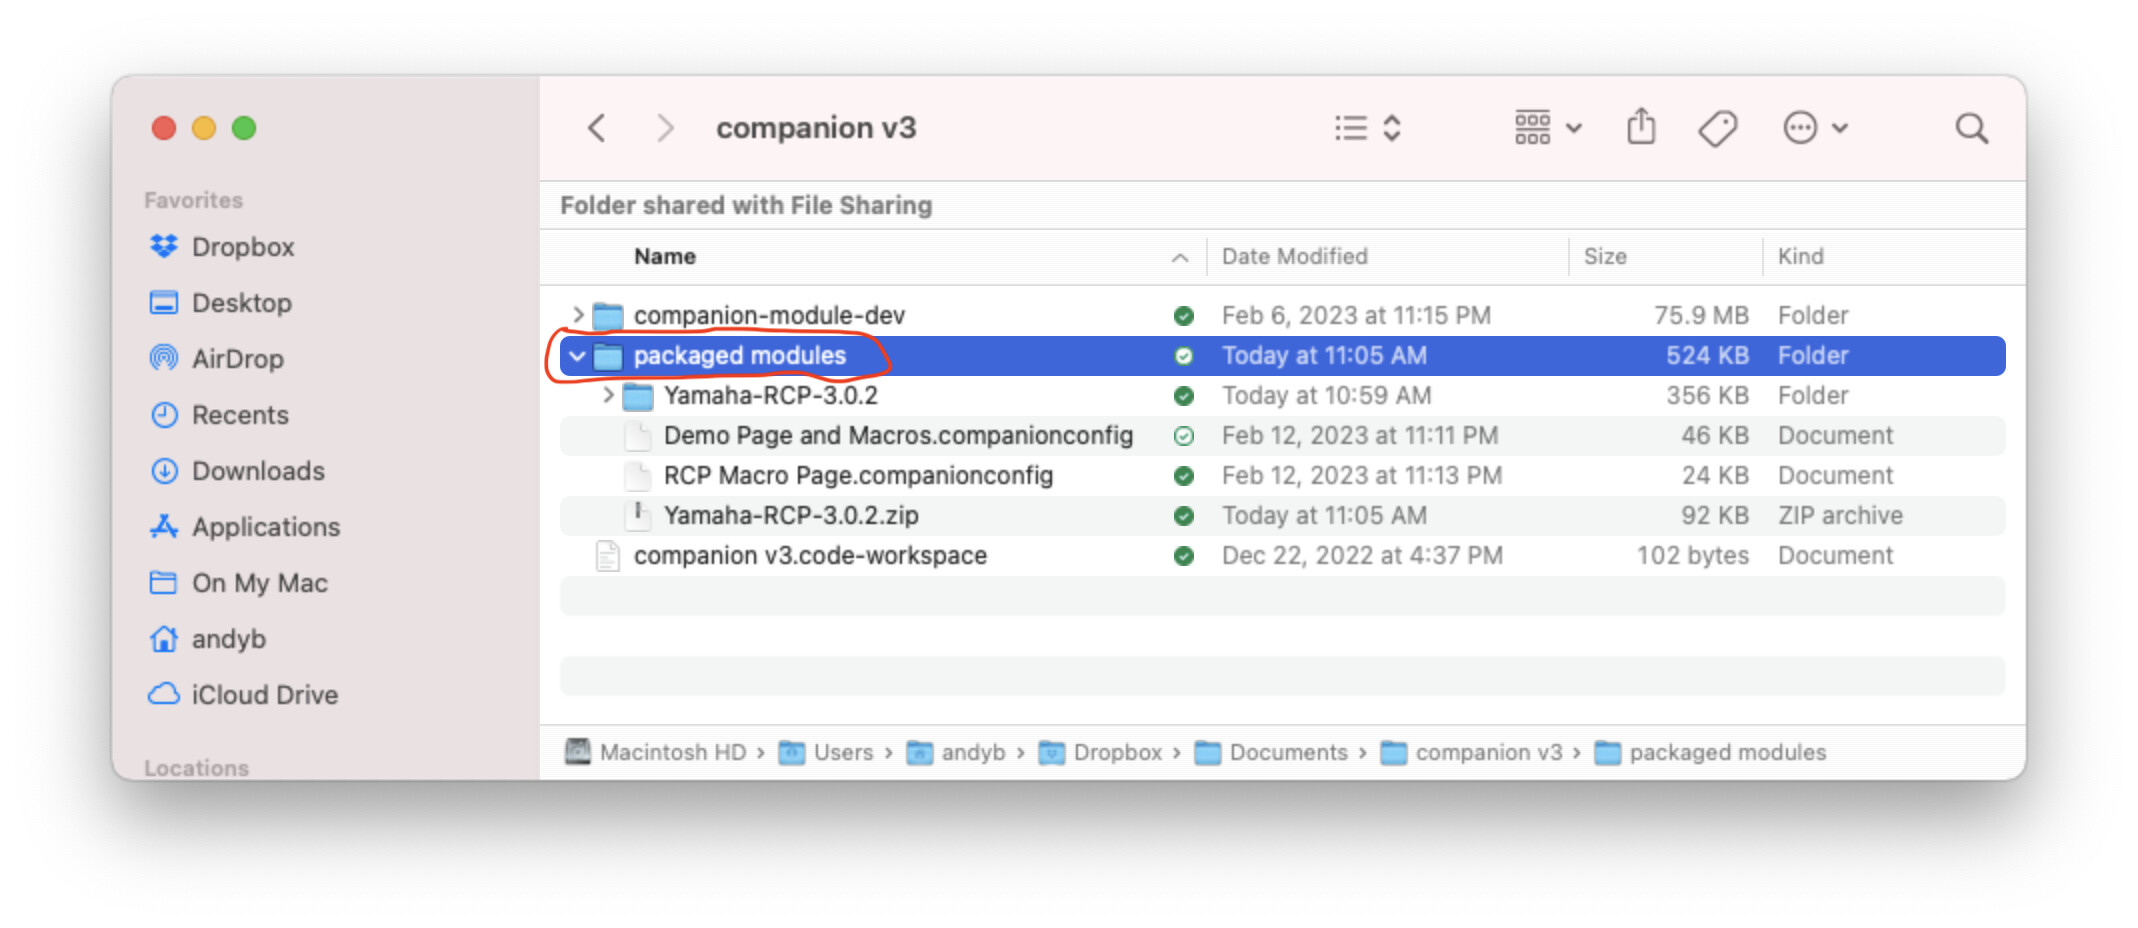
Selectand choose the folder ABOVE theYamaha-RCP-3.x.xorYamaha-CLQL-3.x.xorcompanion-generic-midi-x.x.xfolder. Don’t choose the folder you downloaded, but the one ABOVE it. In this example, I choosepackaged modulesas shown here:
-
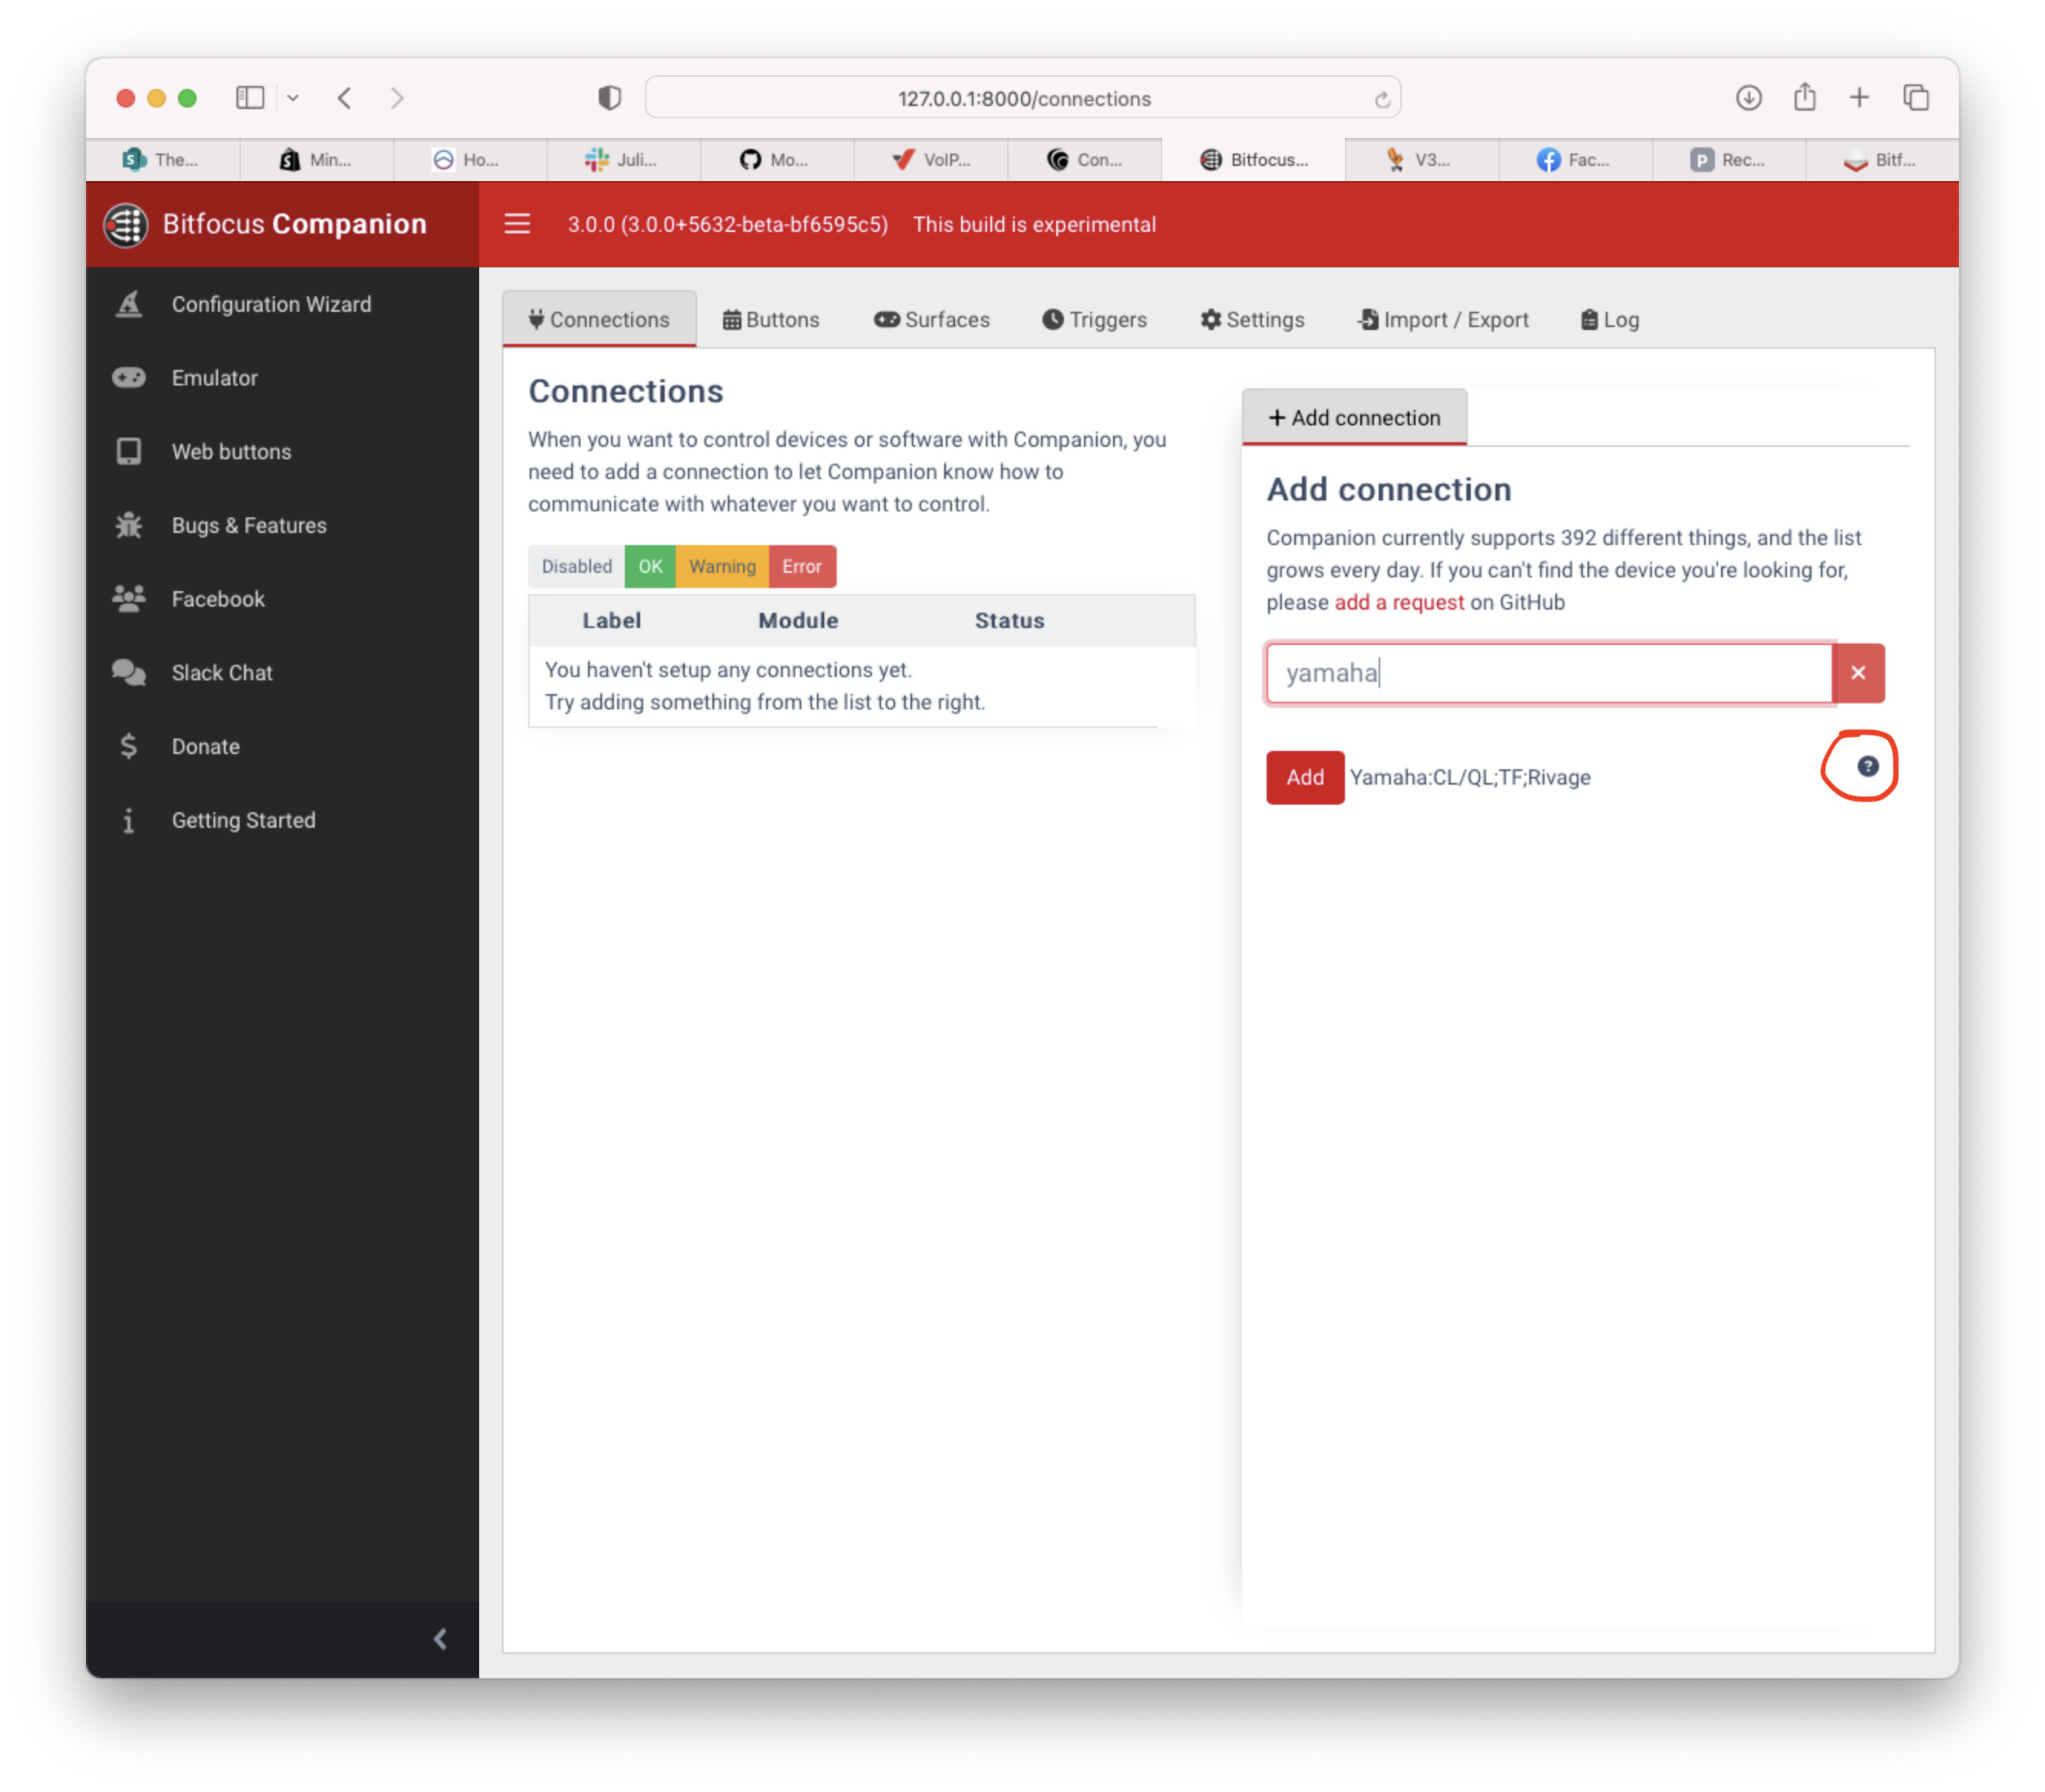
Now open the GUI, and add the RCP module. Click the
?beside the module to make sure it’s the updated one. Note that ALL modules have this handy?beside them that has information about the module, how to report bugs, reach the developer, etc.
-
Clicking on the
?should show a page like this:
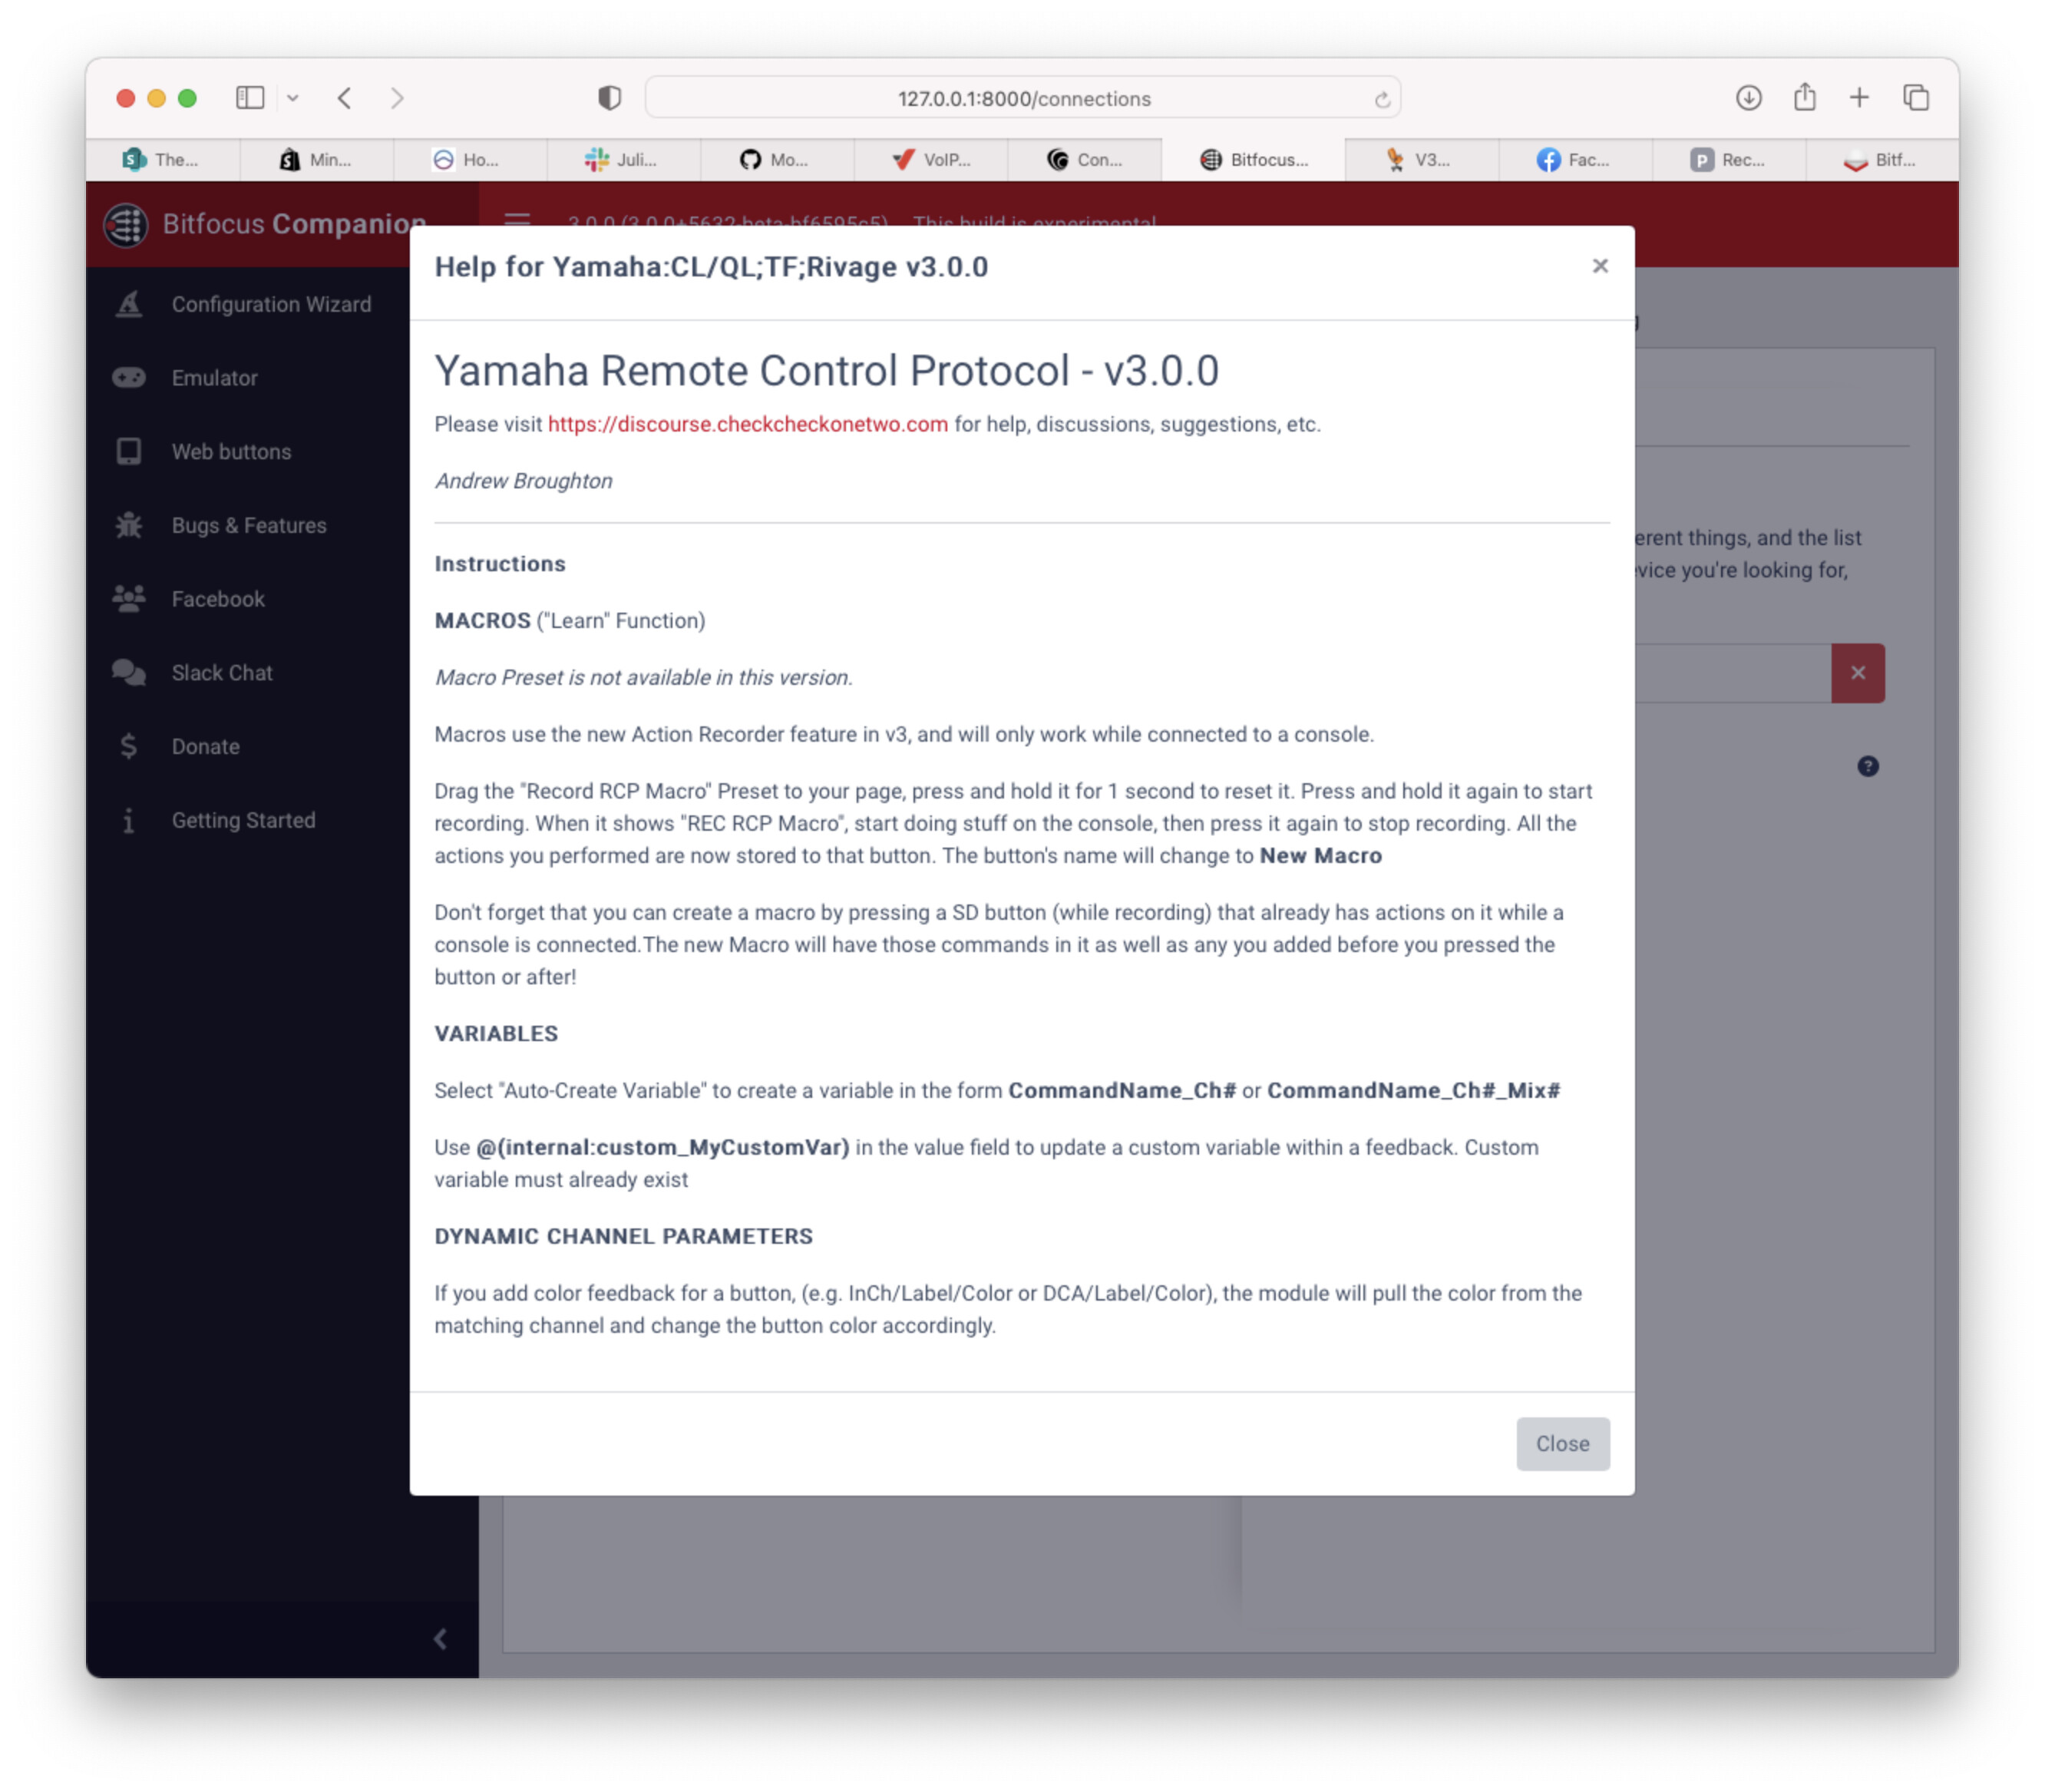
If it shows 1.x.x or something else, you’ve not followed my instructions! 
As I update this module, and you download new versions, you should see the version # in this help menu changing to match the new version you downloaded.
Start a new thread and let me know when you’ve tried it!